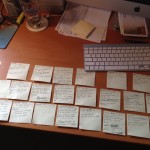
 A few weeks ago I had to design the huge, climatic scene for my latest book. Doing so had scared me for ages, and it's amazing how long I can procrastinate for. I wanted every character from the book to play a part, thus tying together all the loose ends in what I hope will be an intensely satisfying finale! Well that's what we authors tell ourselves, and only hope that our readers agree! 🙂
If you don't know by now that I'm a geek and nerd, then you aren't paying much attention are you? heh. As an anal engineer, I tend to utilize lists and outlines, but over time I've learned to merge this tendency with my creative side and indulge in freeform brain diagrams. What? Stop looking at me like that. OK, so they're just scribbles on pieces of paper, but I can see the order in the chaos, even if you can't.
So the first thing I did was jot down the names of every character and faction that would feature in this monumental scene. Take a look at the image below:
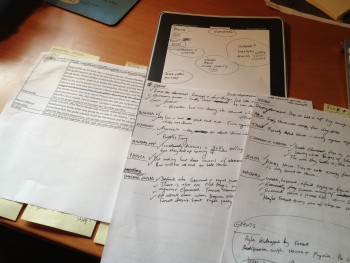
Here I have my scene-by-scene outline and my cast. Then I wrote down the goals and motivations of each cast member. What are they doing here? What do they hope to achieve? How do they win the scene or lose it? How do they relate to every other character/faction in the scene? Luckily this mirrored the relationship diagram that I had already drawn up for the entire book. Then I scribbled ideas about how everyone could achieve their goals. If A does this, how will B retaliate, and what will C and D be doing all this time? Wouldn't it be unexpected if E sided with B? What if A thought C was on his side but C was really working for F? OK, so you get the idea.
Then came the blow-by-blow, or “I should have bought stock in the Post-It company”:
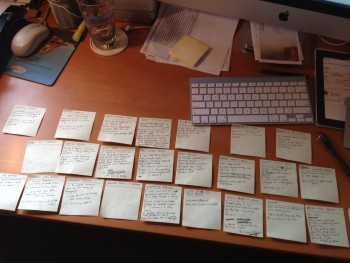
Working through every idea from my pages and pages of scribbles, I wrote one action or event per Post-It note and stuck it to my desk. It made sense to start with the villain(s) and lay out their actions as if no one stood in their way, then I went back and did the hero, working out how he could disrupt the antagonist's plans. It's super easy to shuffle these yellow squares around, and I found it easier than cutting-and-pasting on the computer. I learned this tip from screenwriting books years ago.
After that, I systematically worked through every character and faction and layered in their actions and reactions. I spent hours scratching out ideas, changing events and moving them around for greatest drama and suspense. Many times, a fresh idea sent a handful of Post-Its to the trash. Soon, I was forced to stack my Post-Its as I ran out of room on my desk. This one scene took over 100 Post-It's of which nearly 50 stayed in the final version. It also took over a week of revisiting the sea of yellow and reworking it night after night.
Then things turned from geeky to nerdy, and I dug into my D&D figurine collection. (I warned you this got nerdy!):
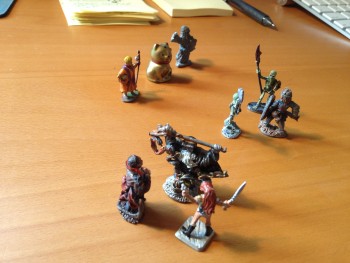
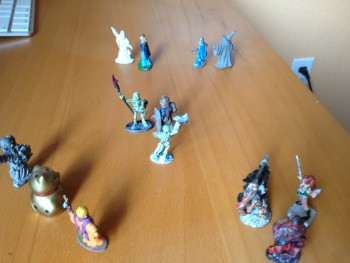
This scene was so complicated that I had to act it out to make sure it flowed smoothly and that no characters ended up standing stupidly about for long periods. I assigned a figurine to each character and placed them in position. Then the fun began! After putting all of my Post-It notes in a single pile, I simply read through them and manipulated the figurines appropriately. This is where I found out that A couldn't see B and C interacting, and that D and E would easily overpower A unless F was there to assist. Was everyone moving and reacting appropriately or was the scene too static? Was everyone getting their time in the limelight? Oh the headaches of being an author! 😉
During this stage, more Post-Its got rearranged and edited, but eventually I'm happy. After putting my toys away, I returned to the keyboard and typed out the scene outline, enlarging on the few key sentences written on each Post-It. Now I had everything I need to actually write the scene, knowing that I can concentrate on the creative details and dialog because I know exactly how the scene will flow.
You can stop shaking your head now. No, I don't do this for every scene, just a couple of crucial, complex scenes that I don't trust myself to wing it at the keyboard. Now who said designing a scene couldn't be fun? 🙂

 A few weeks ago I had to design the huge, climatic scene for my latest book. Doing so had scared me for ages, and it's amazing how long I can procrastinate for. I wanted every character from the book to play a part, thus tying together all the loose ends in what I hope will be an intensely satisfying finale! Well that's what we authors tell ourselves, and only hope that our readers agree! 🙂


